Forget the bold reds and hearts! This year, Valentine's Day nail trends are all about understated elegance. Nude nails offer a sophisticated, romantic look perfect for the occasion, whether you're a DIY enthusiast or prefer a professional manicure. This guide offers designs for every skill level, ensuring you'll find the perfect Valentine's Day nail look.
5 Easy DIY Nude Valentine's Day Nail Designs
These designs are perfect for beginners, requiring minimal tools and a little patience. Get ready for effortlessly chic nails!
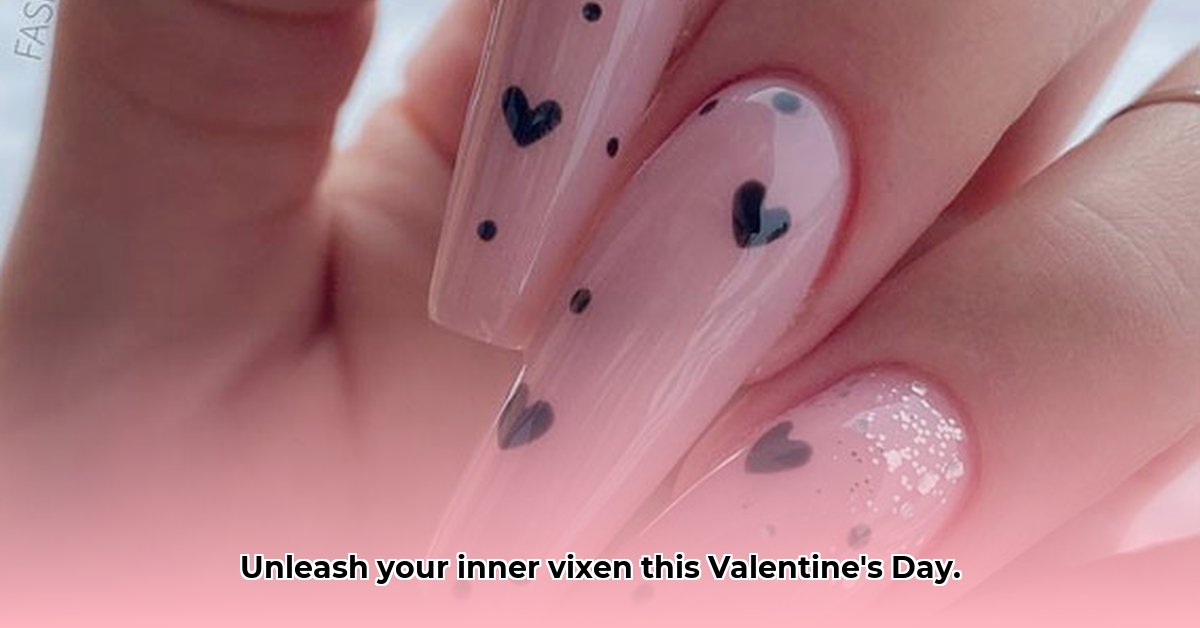
The Minimalist Heart: Apply two coats of your favorite nude polish (creamy beige, soft peach, or delicate pink work well). Once dry, use a thin nail art brush and a slightly darker nude or rosy pink to paint a tiny heart near your cuticle. Simple, sweet, and effective!
Subtle Sparkle: Apply your nude base coat. Add a single, thin line of fine glitter along the bottom edge of your nail for a touch of festive shimmer.
Negative Space Glam: Apply a sheer, light nude polish, leaving a small, crescent moon shape uncovered at the base. This creates a chic, modern look.
French Tip with a Twist: Apply your nude base coat. Instead of a white tip, use a soft pink or a slightly darker nude for a subtle pop of color.
Metallic Accent: Start with a nude polish. Add a thin, delicate line of gold or silver along the nail edge for a touch of luxury.
3 Elegant Nude Valentine's Day Nail Art Looks for a Professional Manicure
For a more intricate look, consider these professional-level designs:
Aura Nail Effect: A nude base with a halo of a slightly darker shade or metallic color around the edge creates a soft, ethereal glow.
Marble Effect: A nude base with subtle marble veining in delicate pinks and whites creates a sophisticated and romantic look. This often requires a skilled nail technician.
Embellished Nude: A simple nude base coat provides the perfect canvas for small, carefully placed rhinestones or pearls near the cuticles or along the edges.
Top 5 Nude Polish Colors for Valentine's Day Nails
Choosing the right nude shade complements your skin tone. Consider these:
- Creamy Beige: A classic, universally flattering choice.
- Rose Quartz: Adds a touch of romance, ideal for fair to medium skin tones.
- Soft Peach: Creates a youthful feel, perfect for fair skin.
- Porcelain: A light and airy nude option for very fair skin.
- Dusty Mauve: A sophisticated and muted shade for medium to olive skin tones.
How to Create Stunning Nude Nail Art: A Step-by-Step Guide
Ready to create your own Valentine's Day nail art? Let's dive into detailed instructions:
5 Simple DIY Designs: Step-by-Step
1. Classic Nude with a Heart Accent:
- Apply two coats of nude polish. Let dry.
- Use a fine-tipped brush or toothpick to create a tiny heart on your ring finger using a contrasting color (dark pink or red).
- Seal with a top coat.
2. Nude French Manicure with a Twist:
- Apply a nude base coat.
- Paint a thin line of delicate pink or rose gold instead of a classic white tip.
- Add a heart or sparkle near the cuticle.
- Finish with a top coat.
3. Nude Nails with Subtle Glitter:
- Apply nude polish.
- While still slightly wet, gently dab shimmery pink or gold glitter polish onto the tips or across the nail.
- Seal with a top coat.
4. Negative Space Heart:
- Apply nude polish and let dry.
- Use tape to create a heart shape, leaving the nude polish visible underneath. Paint the heart a contrasting color. Carefully remove the tape.
- Apply a top coat.
5. Minimalist Dotted Design:
- Apply a base coat of nude polish.
- Use a dotting tool or bobby pin to create tiny dots in a subtle pink along the cuticle.
- Seal with top coat.
3 More Advanced Nail Art Designs
1. Chrome Hearts:
- Apply a nude base coat. Once dry, apply nail glue to create the outline of hearts.
- Gently press chrome powder onto the glue.
- Finish with a top coat.
2. Subtle Stamped Design:
- Apply a nude base coat.
- Use a nail stamping kit to add a delicate pattern (hearts or flowers).
- Add a top coat.
3. Watercolor Effect:
- Apply a nude base.
- Create a subtle blend of pink and white using a thin brush and a watercolor technique.
- Top coat to seal.
Remember, practice makes perfect! Don't be afraid to experiment and find what works best for you. Happy Valentine's Day!